Overview:
Canceling events or meetings is vital since it releases space and allows others to request it if it is not in use. Following these procedures to cancel events or meetings assists in keeping our campus utilization data as accurate as possible, as well as freeing up space for others to request for their activities.
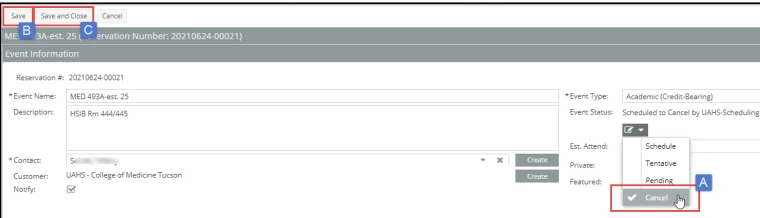
Depending on the kind of cancellation, you can either cancel specific meetings (A) or the entire event (B).
To Cancel your entire event, navigate to the first pencil icon in the Event Information section and select Cancel (indicated by “A”). Conclude your event cancellation by saving your changes; Save then Save and Close (indicated by “B” and “C”).

Important:
This method will cancel your entire event reservation, including the meetings nested underneath the event. If you would like to cancel specific meetings only, the review cancel the meeting process.
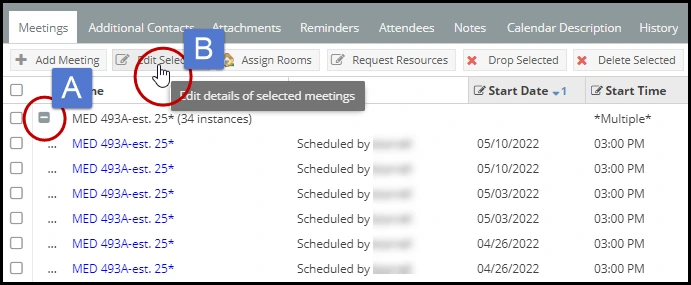
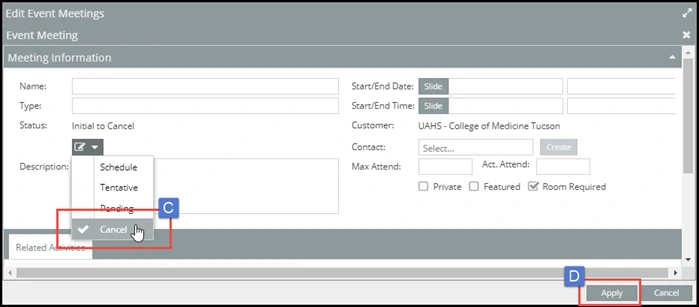
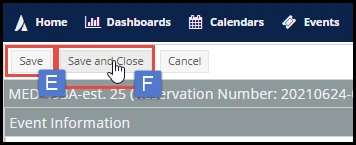
To Cancel specific meetings within your event, select the specific meeting(s) you would like to cancel; you may have to expand your event to view all instances (indicated by “A”). Once all instances that are to be canceled have been selected by marking the check box, click the Edit Selected button to open the Edit Event Meetings window (indicated by “B”). Here you will navigate to the first pencil icon in the Edit Event Meetings window and select Cancel then Apply to accept instance cancellations (indicated by “C” and “D”). Complete your meeting(s) cancellation by saving your changes; first Save and then Save and Close (indicated by “E” and “F”).
Back to Modification of Events